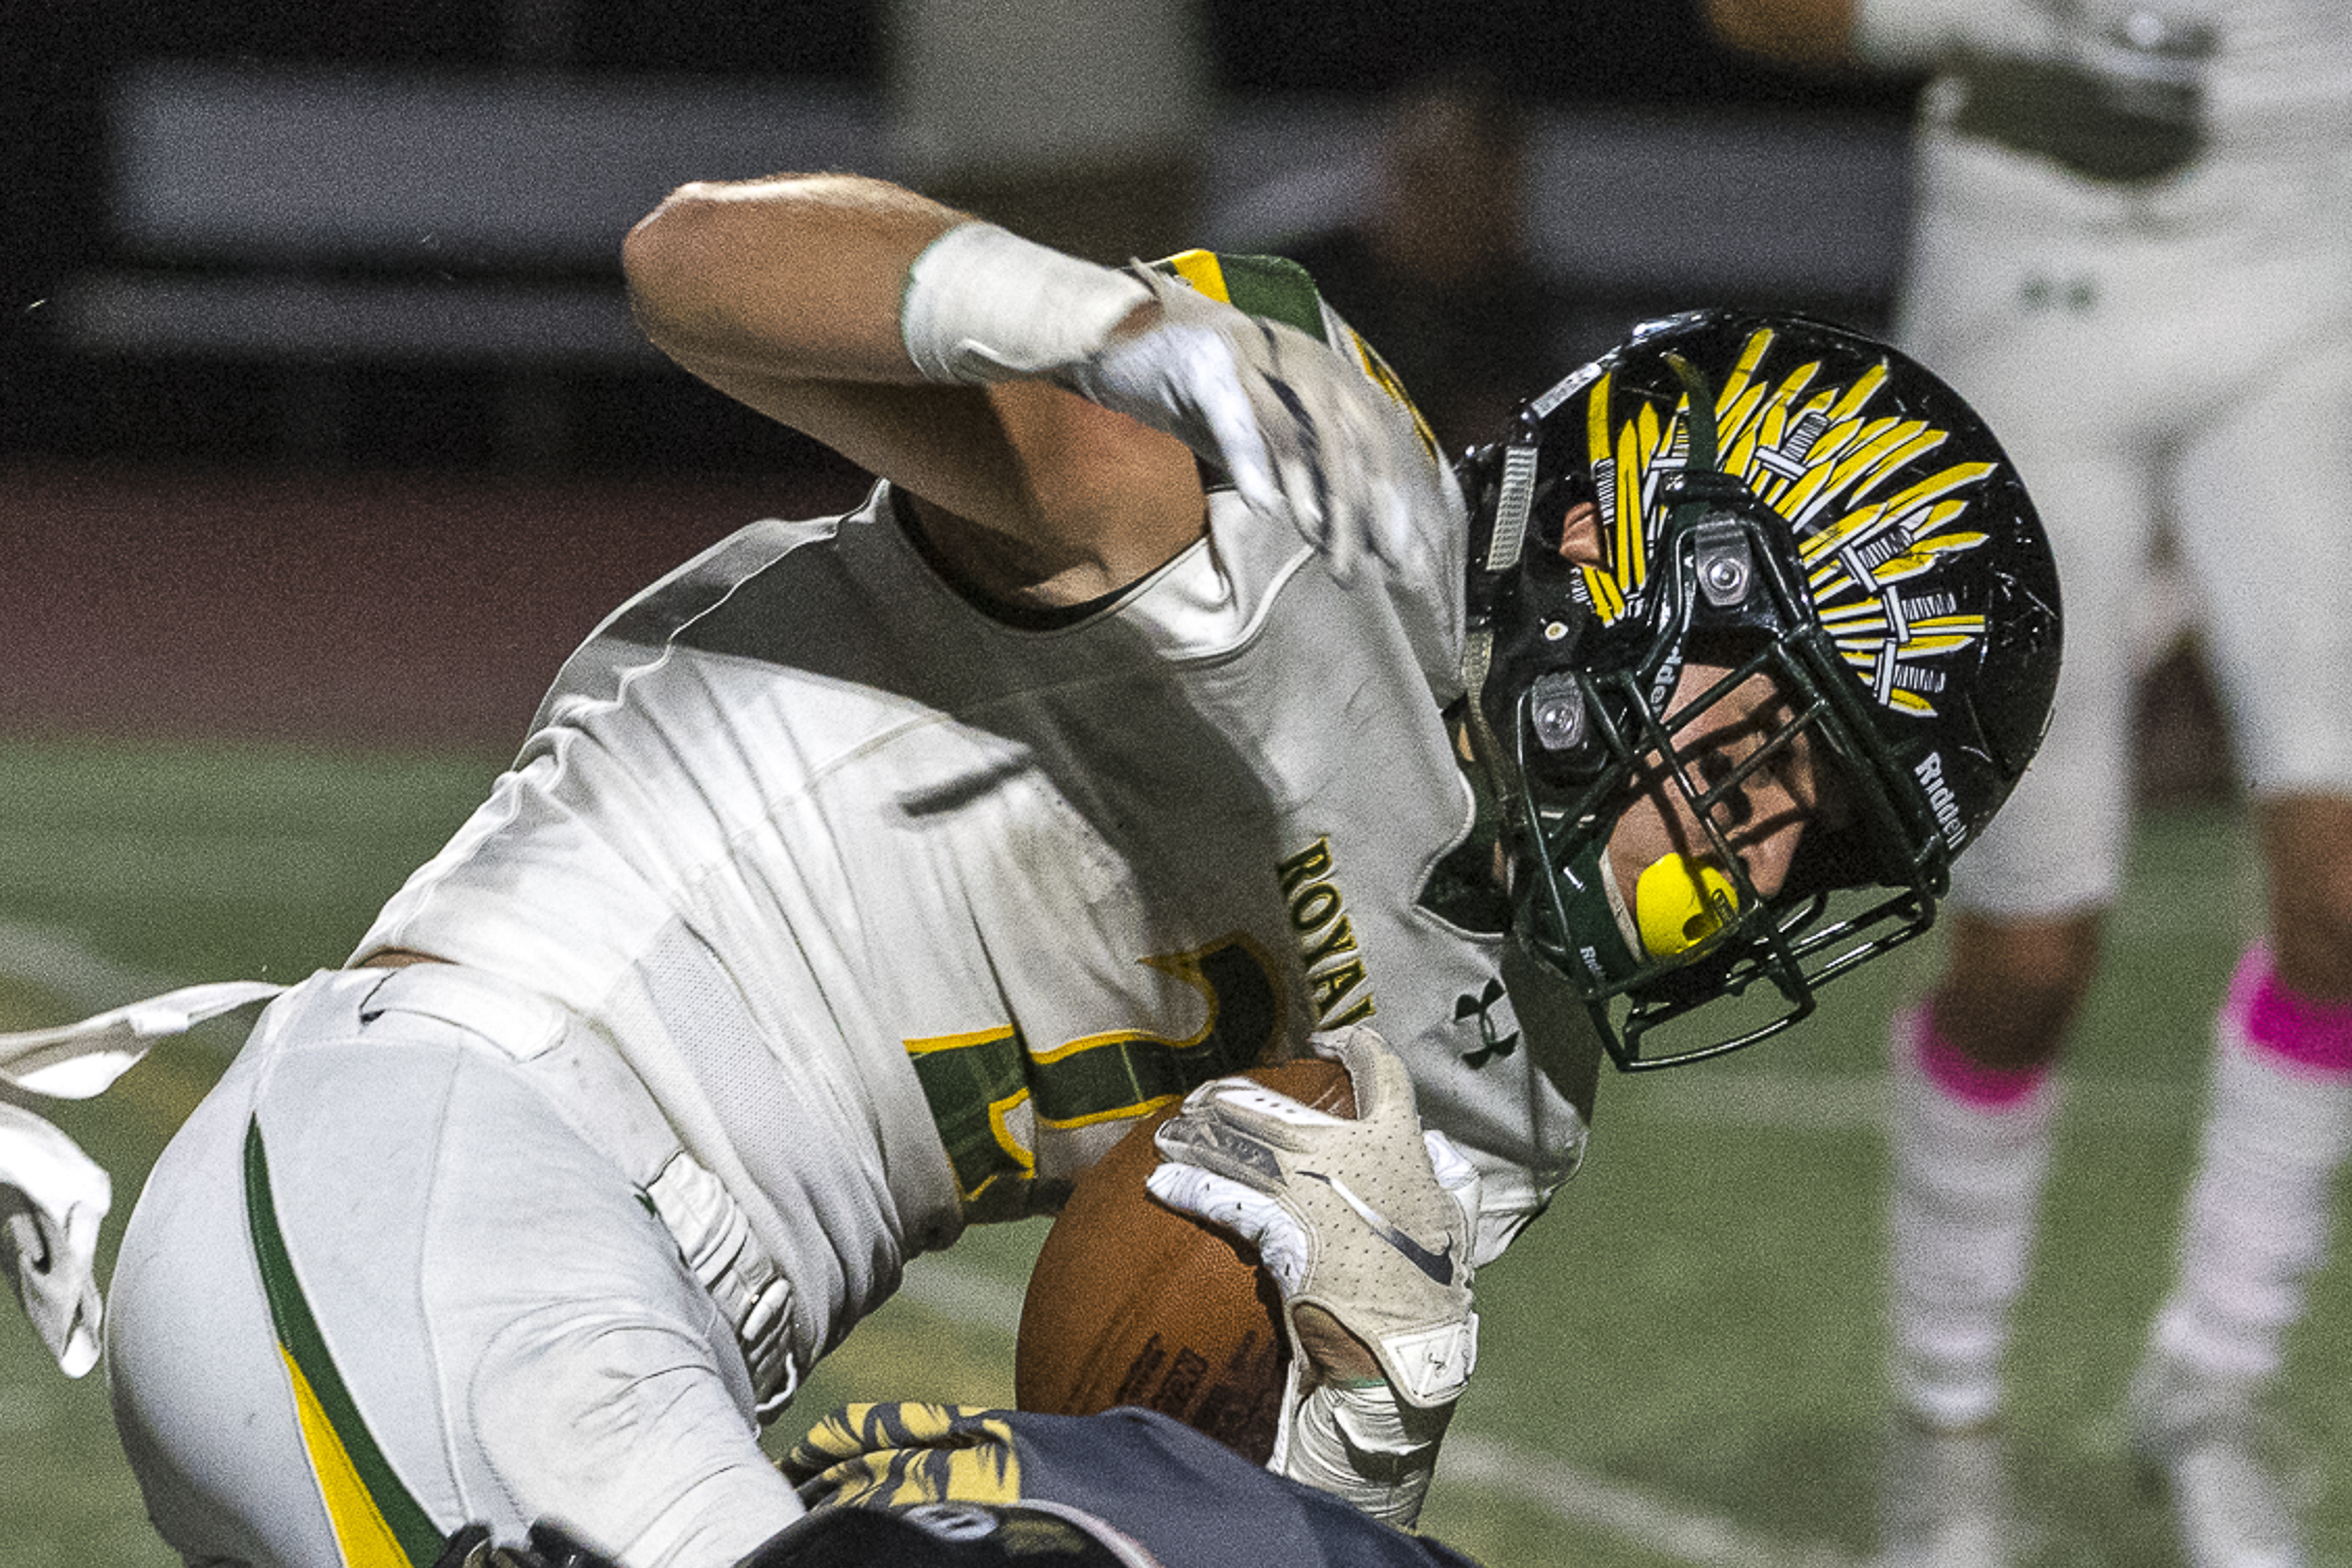
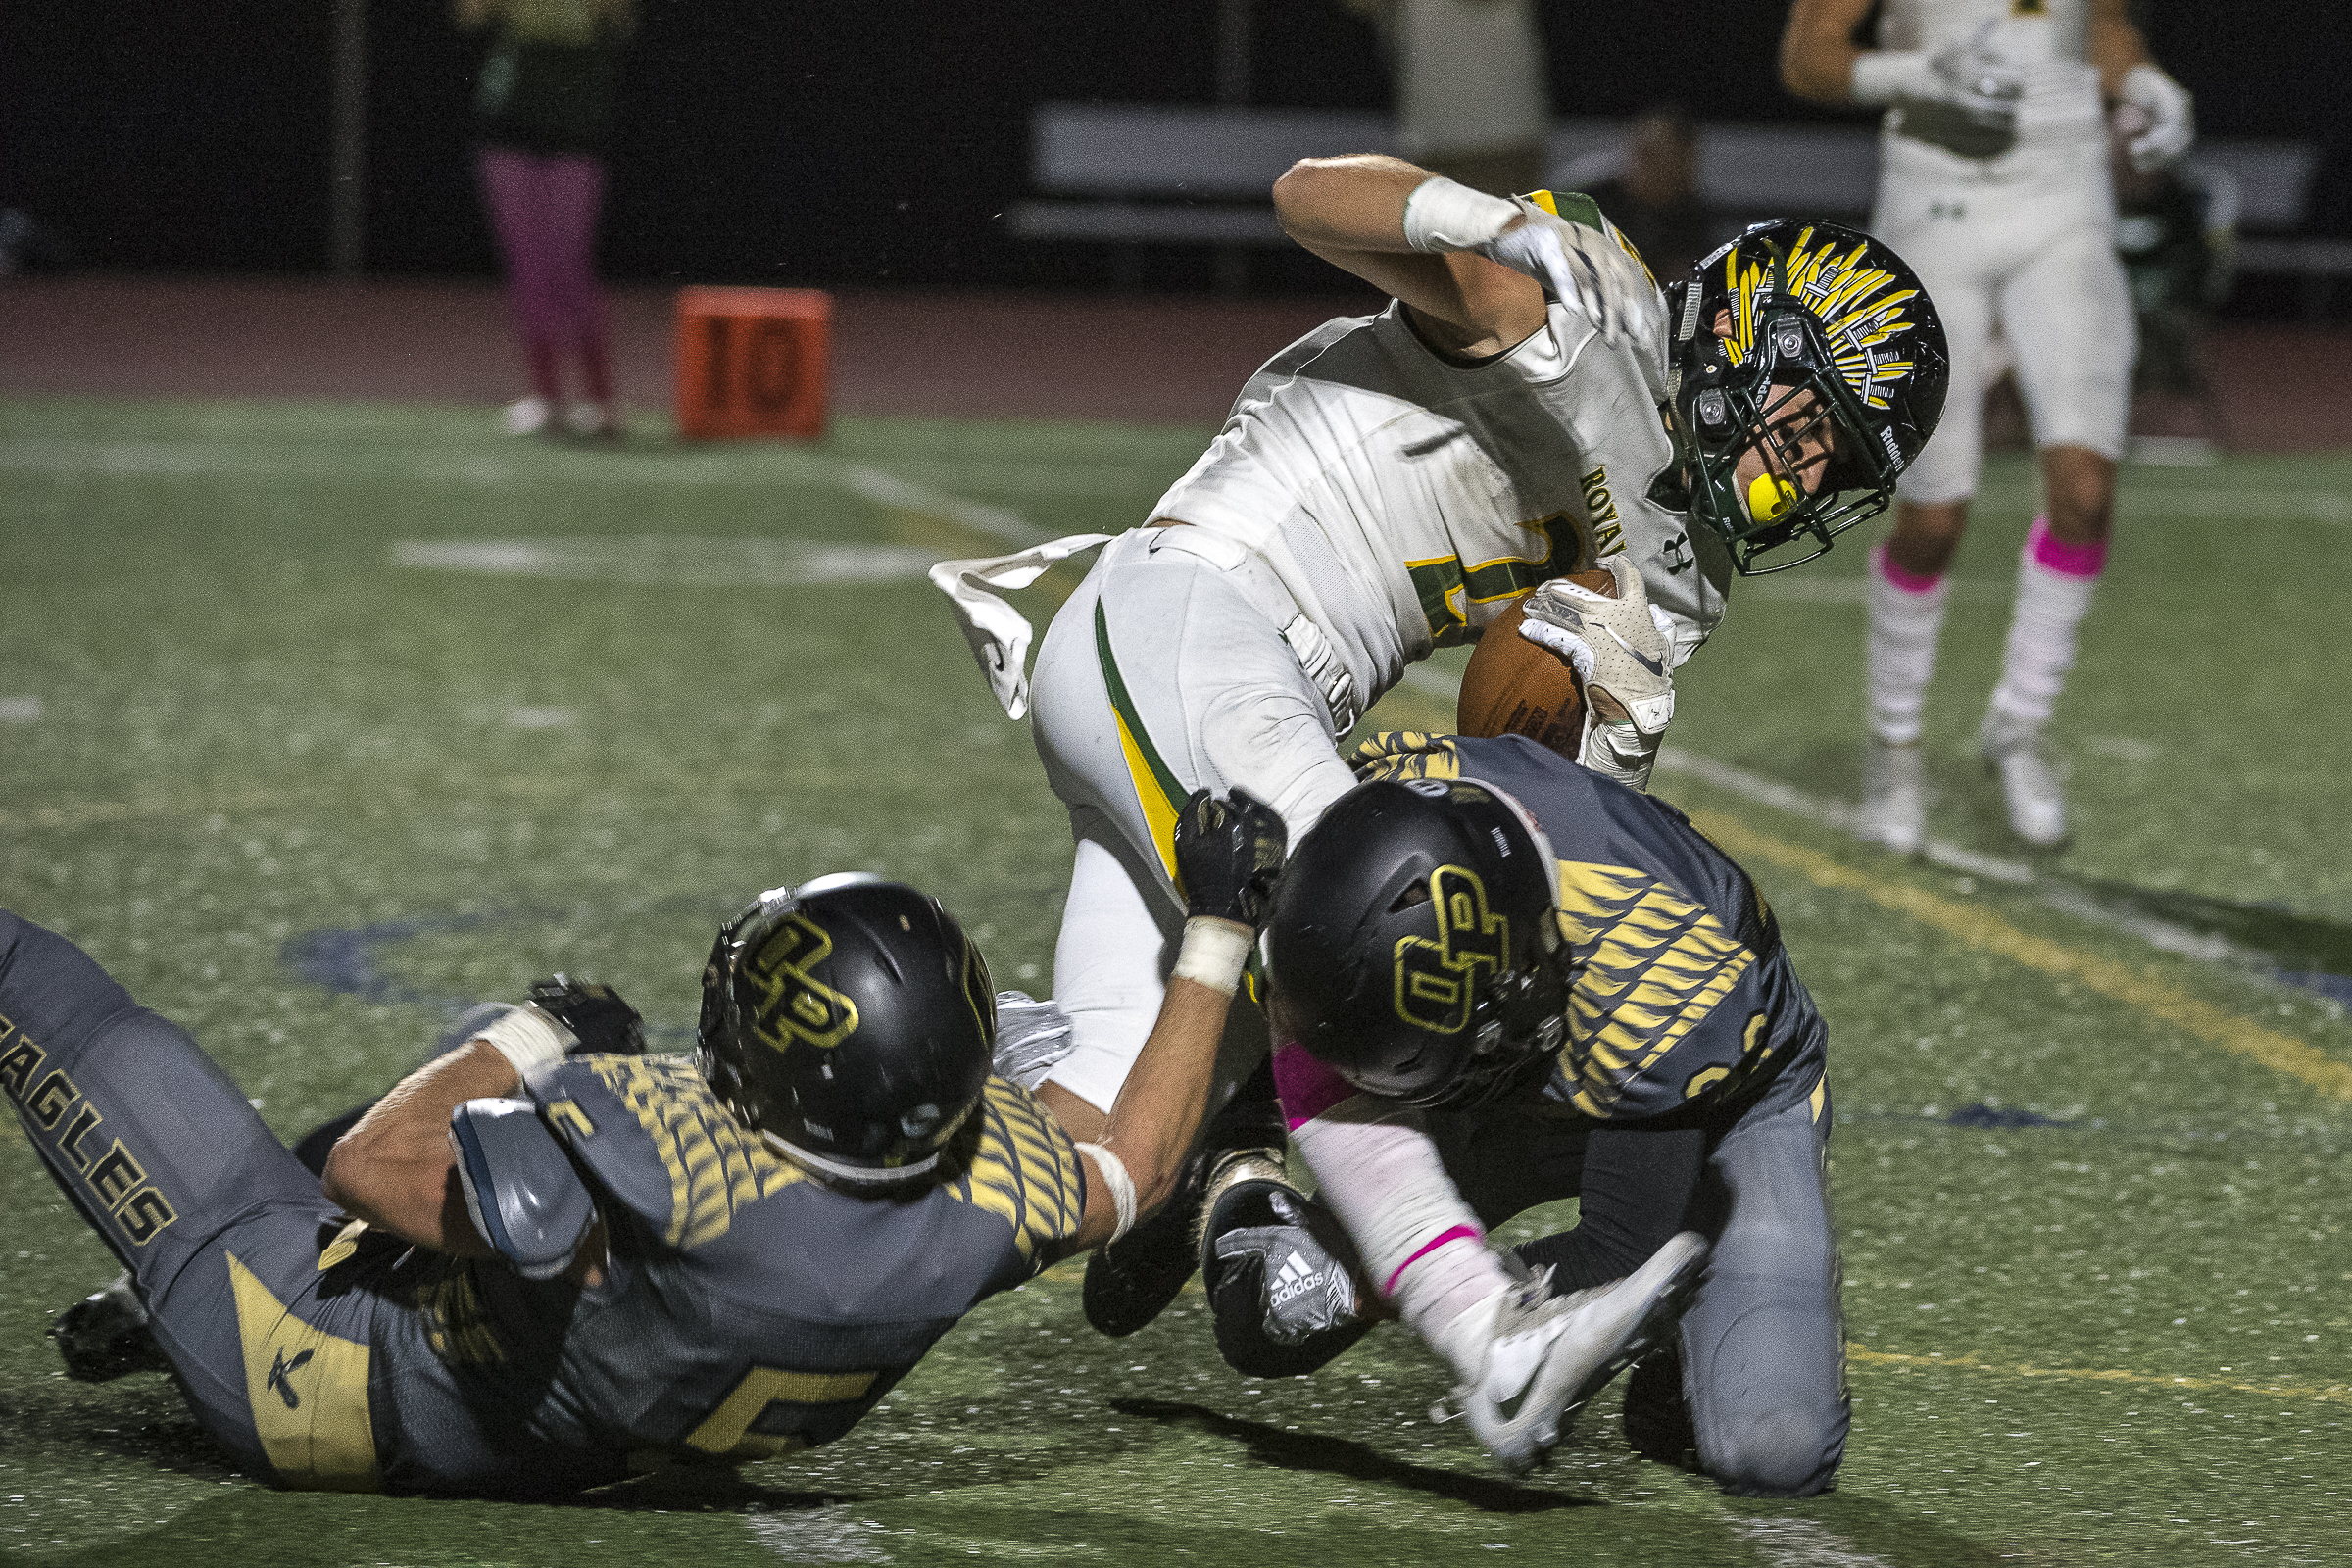
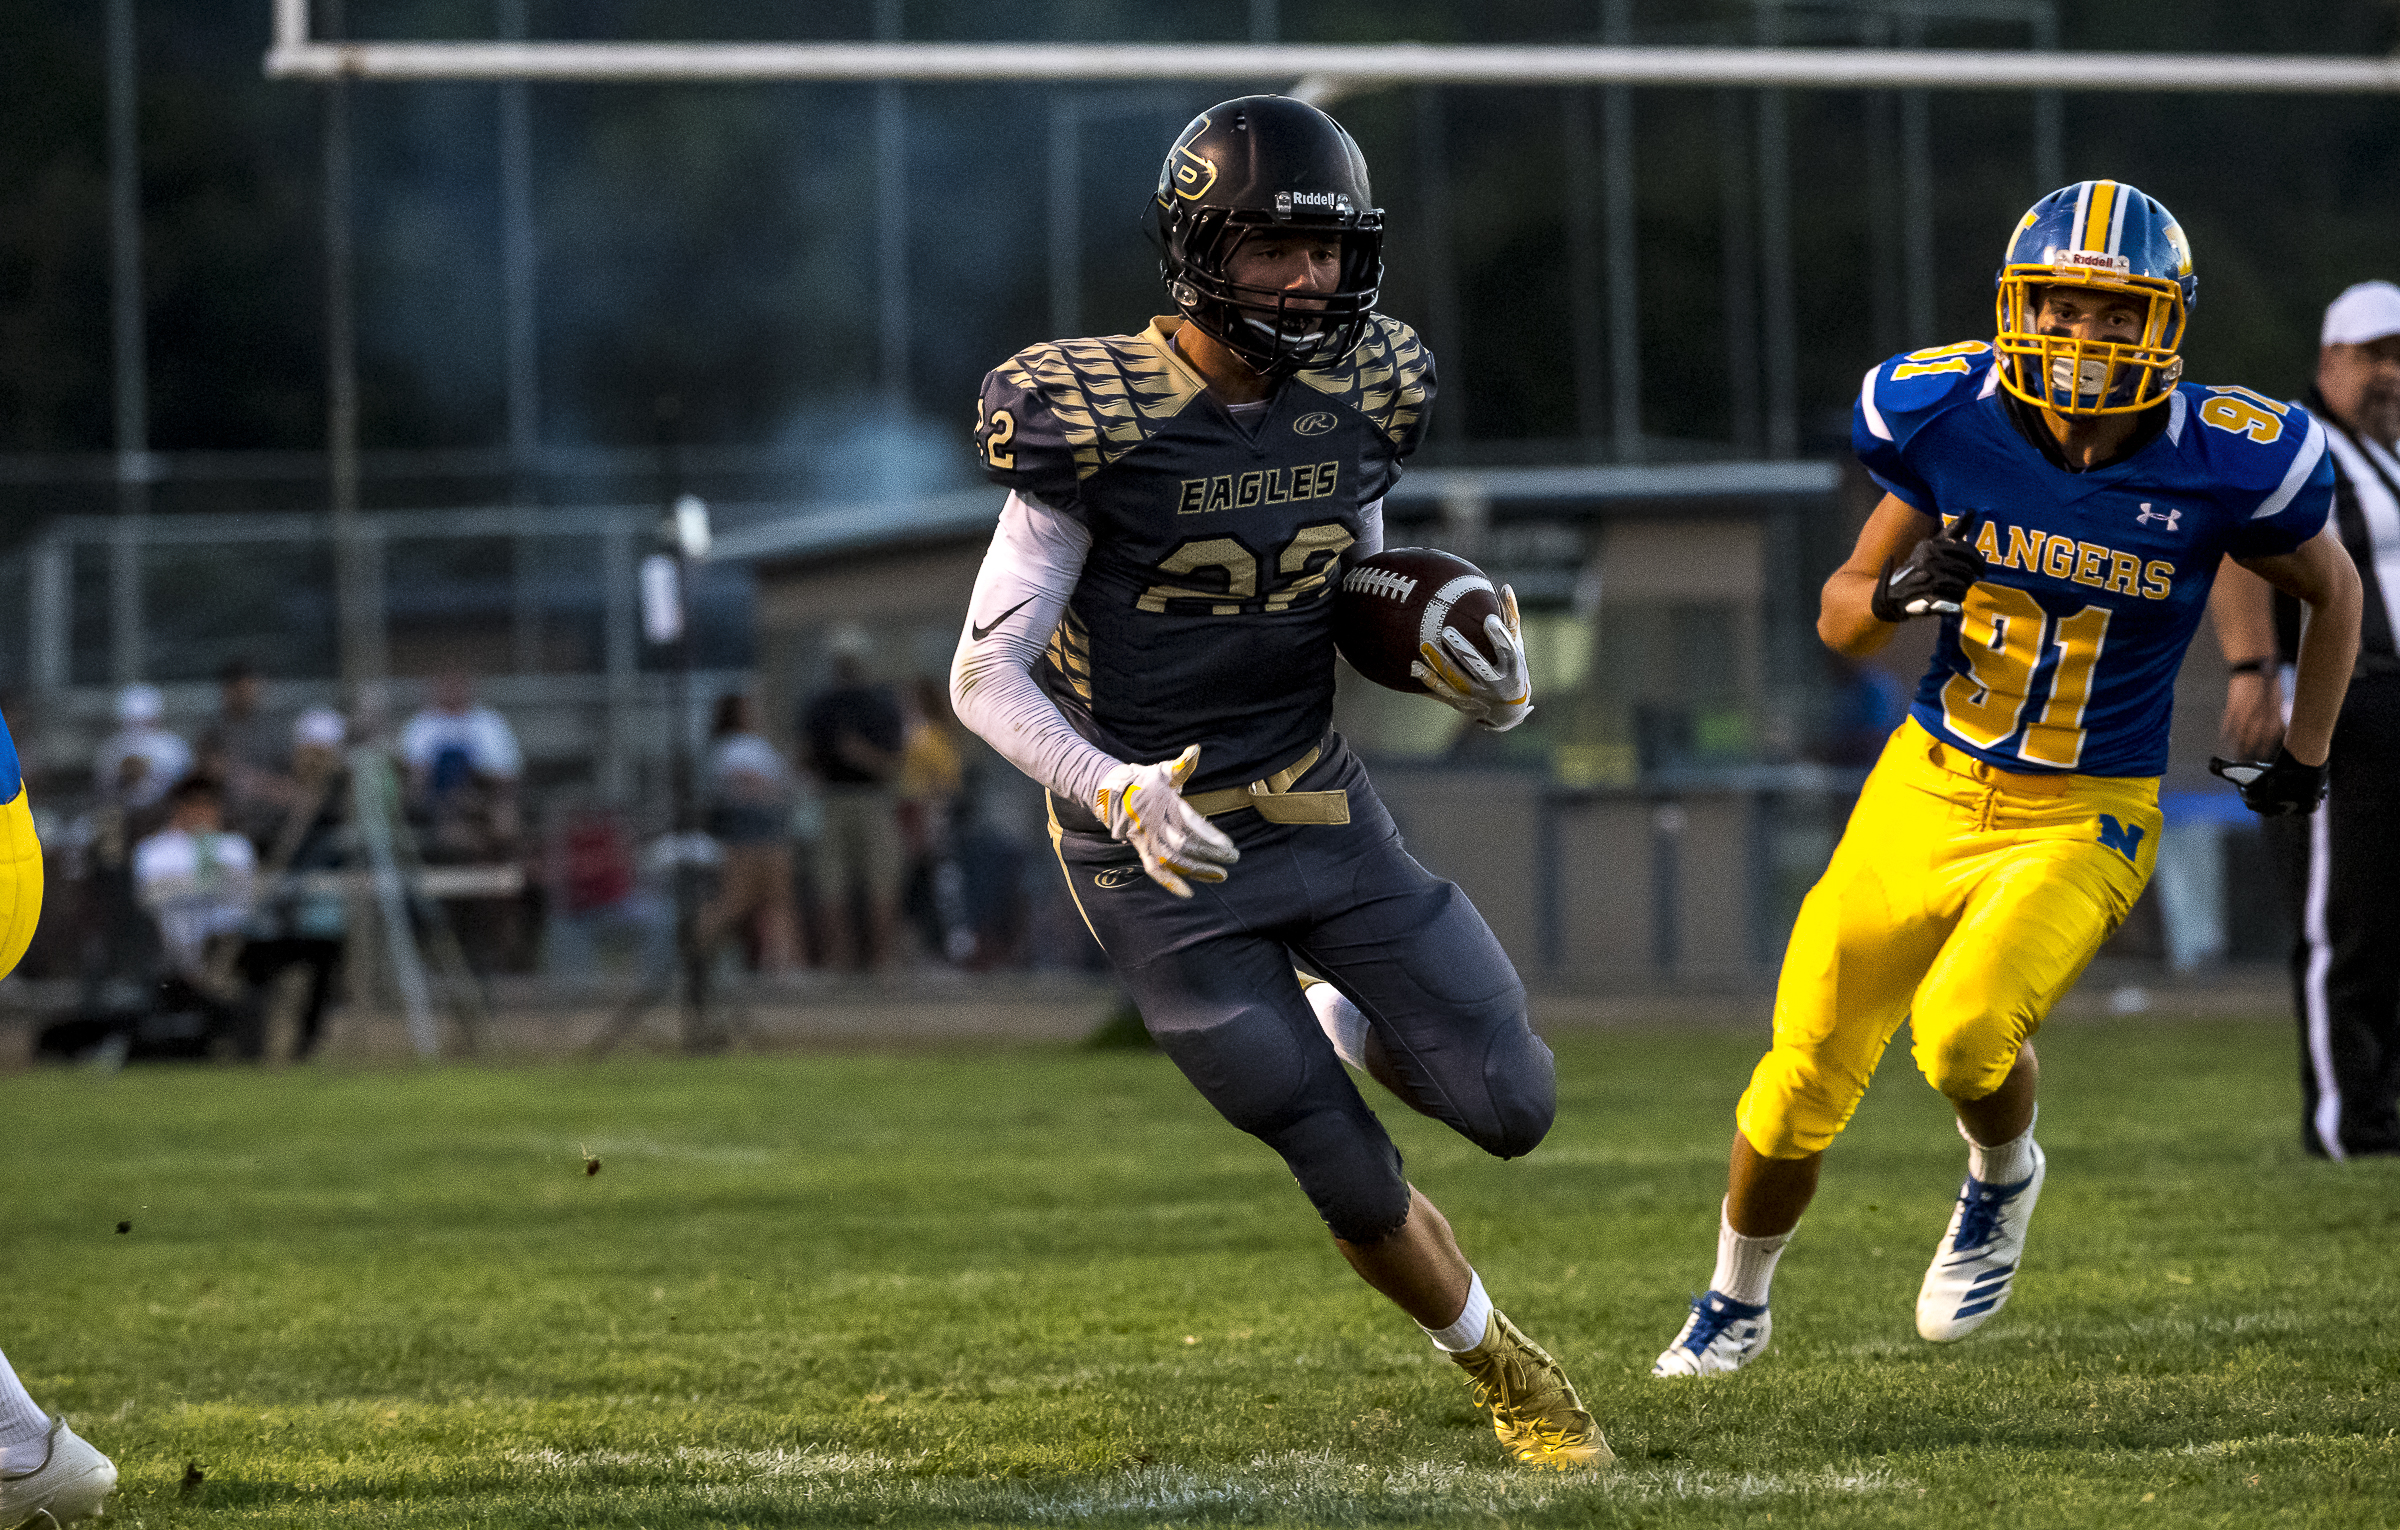
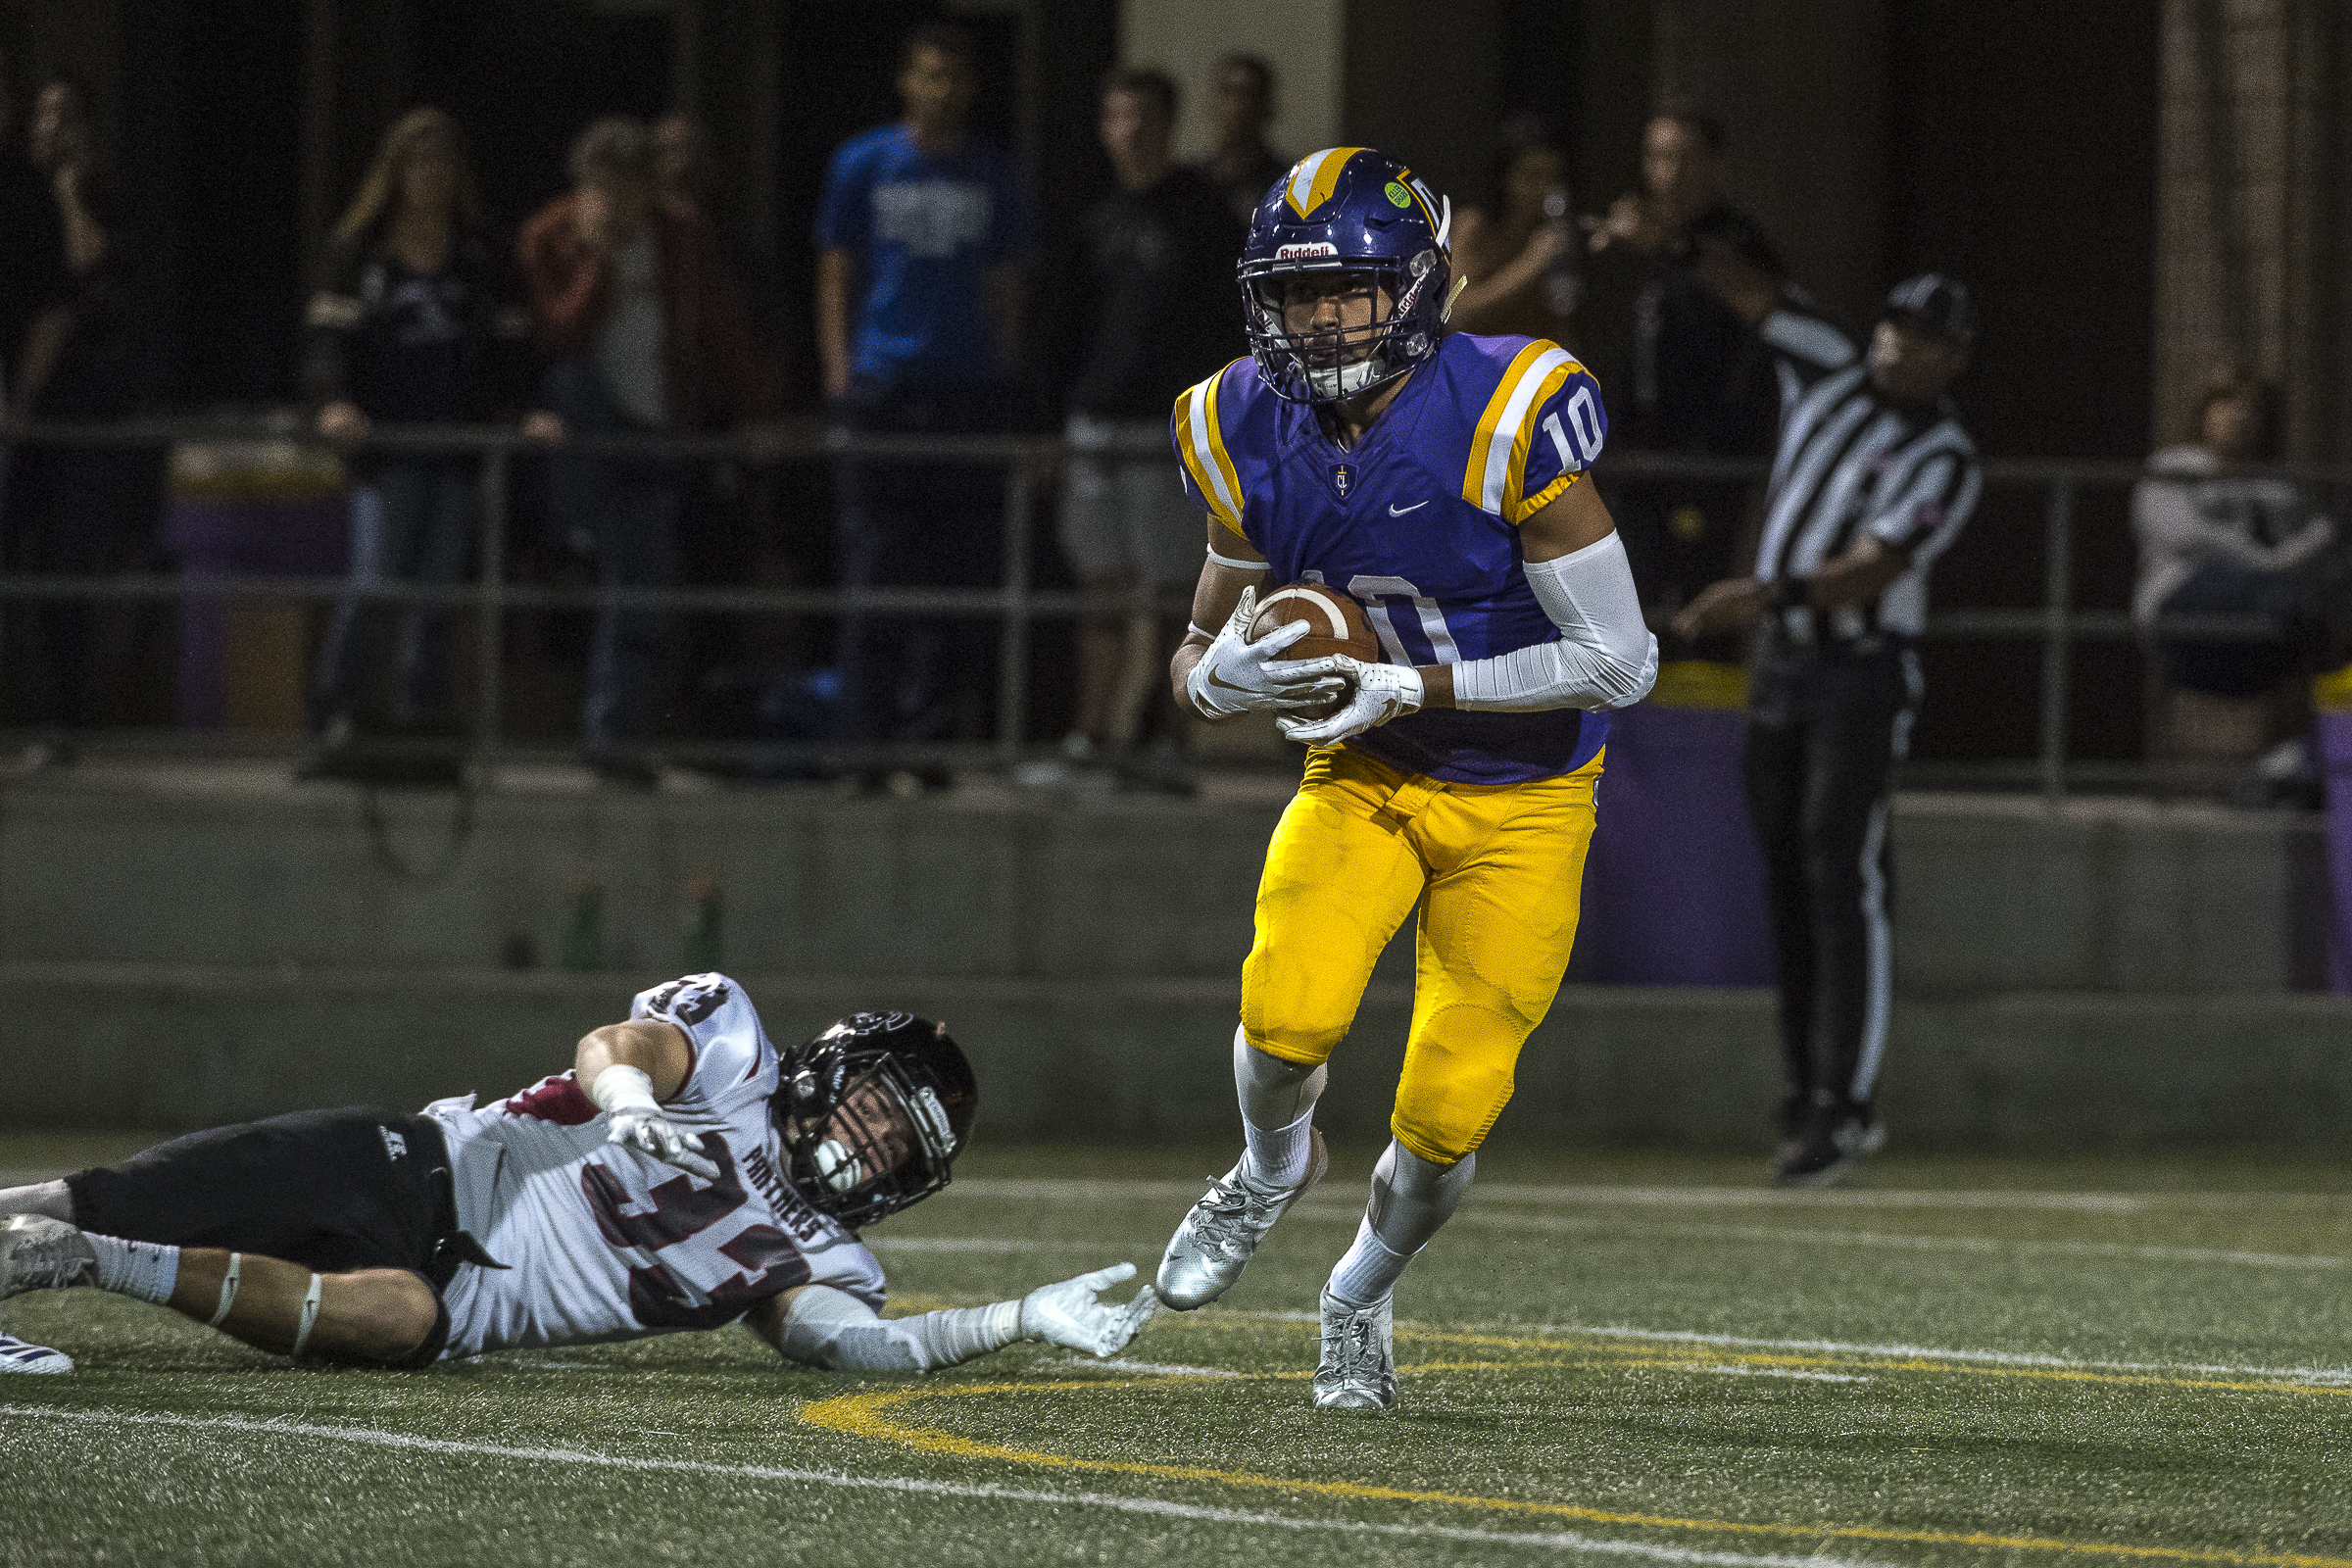
I’m not going to make any apologies here, I LOVE FOOTBALL! In my life, my sports priorities are Motorcycles, then Football, then… I don’t really have a third thing. I think what draws me to football is the inherent drama that is created second to second. The game can change at any moment and the underdog, always has a chance. From the perspective of the sideline photographer, football provides a non-stop flood of incredible images. Even the “meh” ones can be pretty awesome when put in context. From youth to college, I found football to be one of the more engaging sports to photograph.
I’ve been working the sidelines now for local high schools for about 6 years now. Before my own son began playing at the high school level, I was working with a local program. I got hooked immediately. Sure, I’m a fan of the sport and an occasional couch commentator, but when you get on the sidelines and work with the players, the sport takes on a completely different feel. I’m used to working with professional athletes in many different sports, but there is something so different about the football athlete that I truly enjoy working with.
Maybe, it’s because I’m transported back to my playing days where I scored zero touchdowns, recorded 3 yards rushing and 4.5 catches as a running back. I doubt it! But, the air of competition is electric and when I’m not trackside, there’s no place I’d rather shoot than the sidelines.
There is a massive difference though when shooting High School vs. College football. I’ll be using those differences as the basis of this post. My hope is that there is some helpful information in here that may translate to you taking better game day photos.
The first and foremost aspect you have to wrap your head around when shooting football is the speed. It varies for sure, at the different levels, but you need to be prepared for the speed at which players move and plays develop. This is not a sport like racing where as a photographer; you can predict where the action is going to happen. Yes, you may be able to recognize formations and players on the field to anticipate where the ball may go, but that’s just it. It “May” go anywhere once the ball is snapped. Be prepared to spend up to half of the first quarter just getting used to the speed and putting your camera ahead of the action.
As a result of the speed, you may be tempted to just set the camera on 1/2500 and f/9 just to cover your bases. Well while that may work for you, it’s not the nuanced approach to photography that I’m thinking you want? If you’re reading this then you’re probably looking to up your technique a bit. So don’t just set it “fast and flat” and fire off 12 fps. No, you have play a bit, learn and have fun. While you may want to freeze all the action, try slowing down the shutter and see what motion you can play with. Lower the aperture and see if the background can provide you with some unexpected bokeh. The more you can separate the action from the background in this sport, the impactful your images will be.
Since I mentioned bringing the aperture down a scootch for bokehlicious photos, this is where night games become a blast. Rather, they can be a blast if you’re shooting college or pro. If you’re shooting a high school game at night, then frankly, you’re screwed. I know I’ve only covered Speed and Depth of Field in this basic post, but High Schools are notoriously dark places. Not just because it’s where teens do terrible things to one another, but because the stadiums are often very poorly lit. And when you want to shoot fast moving objects in low light, you’re left with only one serious option; you have to crank the ISO!!!
Normally for night games, I’ll set the shutter at the lowest I’m comfortable at 1/500 and shoot my lens as wide open as the manufacture allows. In my case the Nikon 200-400mm allows for f/4. However, even at those settings, I’m going to get dark photos so; I hesitantly start monkeying with my ISO. Full disclosure here, I shoot with a Nikon D5 so I can really crank ISO without getting too much noise. I know mirrorless systems like the Sony are very solid performers in the ISO games as well. But if you’re shooting a pro-sumer or hobbiest level camera, then your ISO settings are going to be set to the level at which you can live with the noise. So be prepared to see Johnny playing in a snow game when you finally get around to sorting out your photos. Colleges and Pro stadiums offer so much more in terms of lighting that they make this last paragraph you’ve read, irrelevant. I probably should’ve said that at the beginning.
Examples with Captions:
There are plenty more things I can offer up as guides to help you improve, but for the sake of your attention span, I’ll just jump to the end here. Shooting football is a highly rewarding practice. I tell parents and other photographers all the time, “If you can shoot High School Football on a Friday Night, then you can practically shoot anything.” I’ll make more posts about specific occurrences and how to deal with them in subsequent posts.
I hope you’ve enjoyed this random bit of information, if so, please leave a comment or subscribe to be notified the instant I publish a new post and then make my revisions because I don’t always proof-read.


